honeywell light switch timer instructions
Honeywell Light Switch Timer Instructions: A Comprehensive Guide
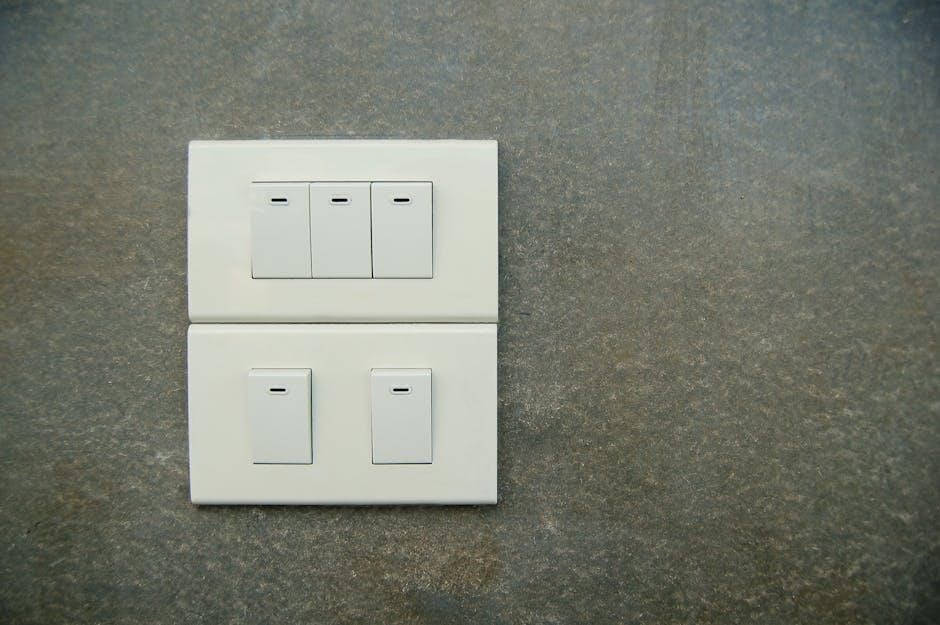
Honeywell programmable light switch timers offer automated control, enhancing home security and reducing energy consumption with simple installation and versatile compatibility.
Understanding Honeywell Timer Switch Models
Honeywell offers a diverse range of light switch timers, catering to various needs and preferences. From basic mechanical timers providing simple on/off control at preset times, to more advanced digital and smart models offering granular 7-day programming and remote access capabilities, there’s a Honeywell timer for almost any application.
The RPLS740B Econoswitch is a popular 7-day programmable model, known for its ease of use and reliability. The RPLS541A is another Econoswitch variant, often found as a cost-effective solution for basic scheduling; For those seeking a simpler option, the RPLS730B provides straightforward 7-day programmability. Beyond these, Honeywell also produces specialized timers like the ST7800A1088 purge timer, designed for specific applications.

Understanding the core differences – mechanical versus digital, basic scheduling versus advanced features – is key to selecting the right Honeywell timer for your needs. Each model offers unique benefits, impacting installation complexity and programming options.
Identifying Your Specific Honeywell Model (RPLS740B, RPLS541A, RPLS730B)
Accurately identifying your Honeywell light switch timer model is crucial for accessing the correct instructions and troubleshooting resources. The most common models include the RPLS740B, RPLS541A, and RPLS730B. Look for the model number printed directly on the device itself – typically on the front, side, or back of the timer unit.
The RPLS740B Econoswitch, often white, features a clear digital display and is a 7-day programmable model. The RPLS541A, also an Econoswitch, is similar in appearance but may have slight variations in programming options. The RPLS730B is another 7-day programmable option, generally offering a more basic interface.

If the model number is obscured or missing, examine the features. Does it have a digital display? How many on/off periods can be programmed per day? These details can help narrow down the possibilities. Referencing the original packaging or purchase receipt can also confirm the model.
Safety Precautions Before Installation
Prioritize safety before beginning any electrical work. Always turn off the power to the light switch at the circuit breaker or fuse box. Double-check with a non-contact voltage tester to confirm the power is completely off. Failure to do so can result in severe electrical shock or injury.
If you are uncomfortable working with electrical wiring, consult a qualified electrician. Incorrect wiring can create a fire hazard. Wear appropriate safety glasses to protect your eyes from debris. Ensure your hands are dry when handling electrical components.
Read and understand all instructions thoroughly before starting the installation process; Do not attempt to modify the timer or its wiring in any way. Use only insulated tools designed for electrical work. Keep children and pets away from the work area. Disconnect any connected loads before commencing work.
Tools Required for Installation
To successfully install your Honeywell light switch timer, you’ll need a few essential tools. A screwdriver (both flathead and Phillips head) is crucial for removing the existing switch and securing the new timer. Wire strippers are necessary for preparing the wires for connection, ensuring clean and secure joins.
A non-contact voltage tester is vital for confirming the power is off before you begin working, preventing electrical shock. Pliers can assist with bending and manipulating wires. Electrical tape is needed for insulating any exposed wire connections. A small level can help ensure the timer is mounted straight.
Consider having a flashlight or headlamp for better visibility, especially in dimly lit areas. Safety glasses are recommended to protect your eyes. A wire connector (wire nut) may be needed depending on your existing wiring configuration. Finally, a multimeter can be helpful for troubleshooting.

Installation Process
Honeywell light switch timer installation involves safely removing the old switch, connecting the wires correctly (Line, Load, Neutral, Ground), and mounting the new unit securely.
Step 1: Turning Off Power at the Breaker
Crucially, before commencing any electrical work, safety is paramount. Locate the circuit breaker that controls the light switch you intend to replace with the Honeywell timer. Carefully switch the breaker to the “OFF” position.
Double-check that the power is indeed off. Use a non-contact voltage tester to confirm no electricity is flowing to the switch wires. This is a vital step to prevent electrical shock.
Even if you are confident you’ve identified the correct breaker, always verify with a tester. Never assume the breaker is labeled correctly. Proceed only when you are absolutely certain the power is disconnected.
Remember, working with electricity can be dangerous. If you are uncomfortable with any part of this process, consult a qualified electrician. Prioritizing your safety is always the best course of action.
Step 2: Removing the Existing Light Switch
With the power safely disconnected at the breaker, you can now remove the existing light switch. Begin by unscrewing the switch plate cover. Gently pull the plate away from the wall.
Next, carefully unscrew the switch itself from the electrical box. Slowly pull the switch out, being mindful of the wires connected to it.
Before disconnecting any wires, it’s highly recommended to take a photograph of the existing wiring configuration. This will serve as a valuable reference during the installation of the Honeywell timer.
Carefully disconnect the wires from the old switch. Note which wire was connected to which terminal. Ensure the wires don’t fall back into the electrical box. Prepare for connecting them to the new timer.
Step 3: Connecting the Wires (Line, Load, Neutral, Ground)
Using your reference photo, connect the wires to the Honeywell timer. Typically, the black wire (Line) connects to the timer’s “Line” terminal, and another black wire (Load) connects to the “Load” terminal.
A white wire (Neutral) may be required depending on the model; connect it to the designated “Neutral” terminal if present. The bare copper or green wire (Ground) must be connected to the “Ground” terminal for safety.
Ensure all wire connections are secure; Use a screwdriver to tighten the terminal screws, but avoid over-tightening.
Carefully tuck the wires back into the electrical box, ensuring they aren’t pinched or damaged. Attach the timer to the box using the provided screws. Finally, reattach the switch plate cover.
Programming the Timer

Honeywell timers allow customized on/off schedules, override functions, and precise time/date settings for automated lighting control, enhancing convenience and energy savings.
Setting the Current Time and Date
Accurately setting the current time and date is the foundational step for proper operation of your Honeywell programmable light switch timer. Begin by locating the “Set” or “Program” button on your specific model – refer to your model’s manual if needed. Pressing this button typically enters the programming mode.
Within the programming mode, navigate to the time setting using the up and down arrow buttons, or similar controls. Adjust the hour first, then the minutes. Confirm each setting by pressing the “Set” or “Enter” button. Next, proceed to set the date, usually following a month/day/year format. Again, use the navigation buttons to adjust each value and confirm with the “Set” or “Enter” button.
Some models may offer a 24-hour or 12-hour time format option. Ensure you select your preferred format. After setting both the time and date, exit the programming mode. The timer should now display the correct time and date, ready for scheduling.
Creating On/Off Schedules (7-Day Programming)
Honeywell 7-day programmable light switch timers allow customized schedules for each day of the week, offering maximum flexibility. Access the programming mode using the “Set” or “Program” button. Navigate to the scheduling options, often labeled “Schedule” or “Program.” You’ll typically define multiple on/off periods per day.
For each period, set the desired on-time and off-time using the navigation buttons. Specify which days of the week this schedule should apply to – you can select individual days or groups like “Weekdays” and “Weekends.” Repeat this process for each on/off period you want to program.
Many models allow copying a schedule from one day to another, saving time. Review your entire schedule carefully before exiting the programming mode. The timer will now automatically turn your lights on and off according to your programmed schedule, enhancing security and saving energy.
Using the Override Function
Honeywell light switch timers often include an “Override” function for temporary control, bypassing the programmed schedule. This is useful when you need the lights on or off outside of their scheduled times. Typically, a dedicated “Override” button activates this feature. Pressing it will usually force the light to either turn on immediately or remain off, depending on its current state.
The override duration varies by model; some offer temporary overrides lasting until the next scheduled event, while others allow you to set a specific override period. The display will often indicate when the override is active, showing “Override” or a similar message.

To cancel the override and return to the programmed schedule, simply press the “Override” button again, or the timer may automatically revert at the next scheduled time. Understanding the override function provides convenient manual control without permanently altering your programmed settings;
Troubleshooting Common Issues
Honeywell light switch timers can experience issues like failing to operate, display errors, or incompatibility with bulbs; resetting often resolves these problems.
Timer Not Turning Lights On/Off
If your Honeywell timer isn’t switching lights as programmed, several factors could be at play. First, verify the timer is correctly programmed with the desired on/off schedules, ensuring the time and date are accurate. Double-check that the override function isn’t activated, as this will bypass scheduled settings.
Next, confirm the wiring connections are secure and correct – a loose wire can interrupt the circuit. Inspect the breaker to ensure it hasn’t tripped. Also, confirm the bulb is functioning correctly by testing it in another fixture.
Consider bulb compatibility; some older Honeywell models may have limitations with certain LED bulbs. If the issue persists, try resetting the timer to its factory defaults (refer to your model’s manual for instructions) and reprogram it from scratch. A faulty timer may require replacement.
Display Issues and Resetting the Timer
Experiencing a blank or malfunctioning display on your Honeywell timer can be frustrating. Often, this indicates a power issue or internal malfunction. First, ensure the breaker supplying power to the timer hasn’t tripped. If the display is dim, check the battery – some models utilize a battery backup for timekeeping and display functionality.
Resetting the timer to factory defaults can resolve many display and operational issues. The reset procedure varies by model; consult your specific Honeywell timer’s manual for detailed instructions. Typically, this involves holding a reset button for a specified duration.
Be aware that resetting will erase all programmed schedules, requiring you to reprogram them afterward. If the display remains unresponsive after a reset, or if issues recur frequently, the timer may be defective and require replacement. Contact Honeywell support for assistance.
Compatibility with Different Bulb Types (Incandescent, Halogen, Fluorescent)
Honeywell light switch timers are generally compatible with a wide range of bulb types, including traditional incandescent, halogen, and more energy-efficient fluorescent options. However, it’s crucial to consider the wattage limitations of your specific timer model. Exceeding the maximum wattage can damage the timer and create a fire hazard.
For LED bulbs, ensure they are dimmable if you intend to use the timer with a dimmer function. Non-dimmable LEDs may flicker or not function correctly. Fluorescent bulbs, particularly compact fluorescent lamps (CFLs), may have specific compatibility considerations; check the timer’s documentation.
Always verify the total wattage of all bulbs connected to the timer does not surpass the timer’s specified maximum. Prioritize safety and consult the Honeywell product manual for detailed compatibility information and recommendations.

Wiring Configurations (Single-Pole vs. 3-Way)
Honeywell light switch timers can be installed in both single-pole and 3-way wiring configurations, though the installation process differs significantly. A single-pole setup controls a light from one location, while a 3-way setup allows control from two locations.
For single-pole wiring, the timer directly replaces the existing switch, connecting to the line, load, neutral, and ground wires. 3-way configurations are more complex, often requiring careful identification of the common wire and potentially utilizing the existing traveler wires.
It’s essential to correctly identify the wires and follow the wiring diagram specific to your Honeywell timer model and your existing wiring setup. Incorrect wiring can lead to malfunction or safety hazards. If unsure, consult a qualified electrician for assistance.
Energy Saving Benefits
Honeywell light switch timers deliver substantial energy savings by automating lighting control, eliminating wasted electricity from lights left on unnecessarily. Programmable schedules ensure lights operate only when needed, reducing consumption and lowering electricity bills.
These timers are particularly effective for outdoor lighting, often left on for security purposes, and indoor lights in infrequently used rooms. By automating these lights, you can significantly decrease your home’s energy footprint.
Beyond cost savings, reducing energy consumption contributes to environmental sustainability. Automated lighting also simulates occupancy, enhancing home security while you’re away; Honeywell timers offer a simple, cost-effective way to improve energy efficiency and promote responsible energy usage.


Leave a Reply
You must be logged in to post a comment.